Rockford Local
Interior Wood Refinishing Done by a Specialist
Stain, varnish, and wood finishing for trim, window frames, and cabinetry across Wright County.
Free estimate
Tell us what you need
Three fields. It reaches a person here, not a call centre.
Wood Refinishing Services That Hold Up
Wood refinishing services cover a narrower range than most homeowners expect, and getting them wrong is easy. The stain goes on blotchy, the varnish yellows, the window sills that looked faded now look worse. Steve Greene Painting handles stain and varnish work the way it should be done: surface prep first, right product for the wood species, applied in conditions that let it cure properly. If your trim, window frames, or interior wood features need refinishing, call for a free estimate before you try to sort it out yourself.
The scope of a wood finishing job depends on what you're working with. Raw or bare wood takes stain differently than wood that's been previously varnished, and stripping old finish without damaging the grain underneath takes time most painters skip. Window frames and sills are a common starting point, especially in older homes where the finish has faded or the wood has started to soften at the edges. Interior trim and molding work follows the same process: sand, prep, condition if needed, stain to the right depth, then varnish for protection. Every job is different, contact Steve Greene Painting for an accurate estimate.
Recent work
Proof in the details
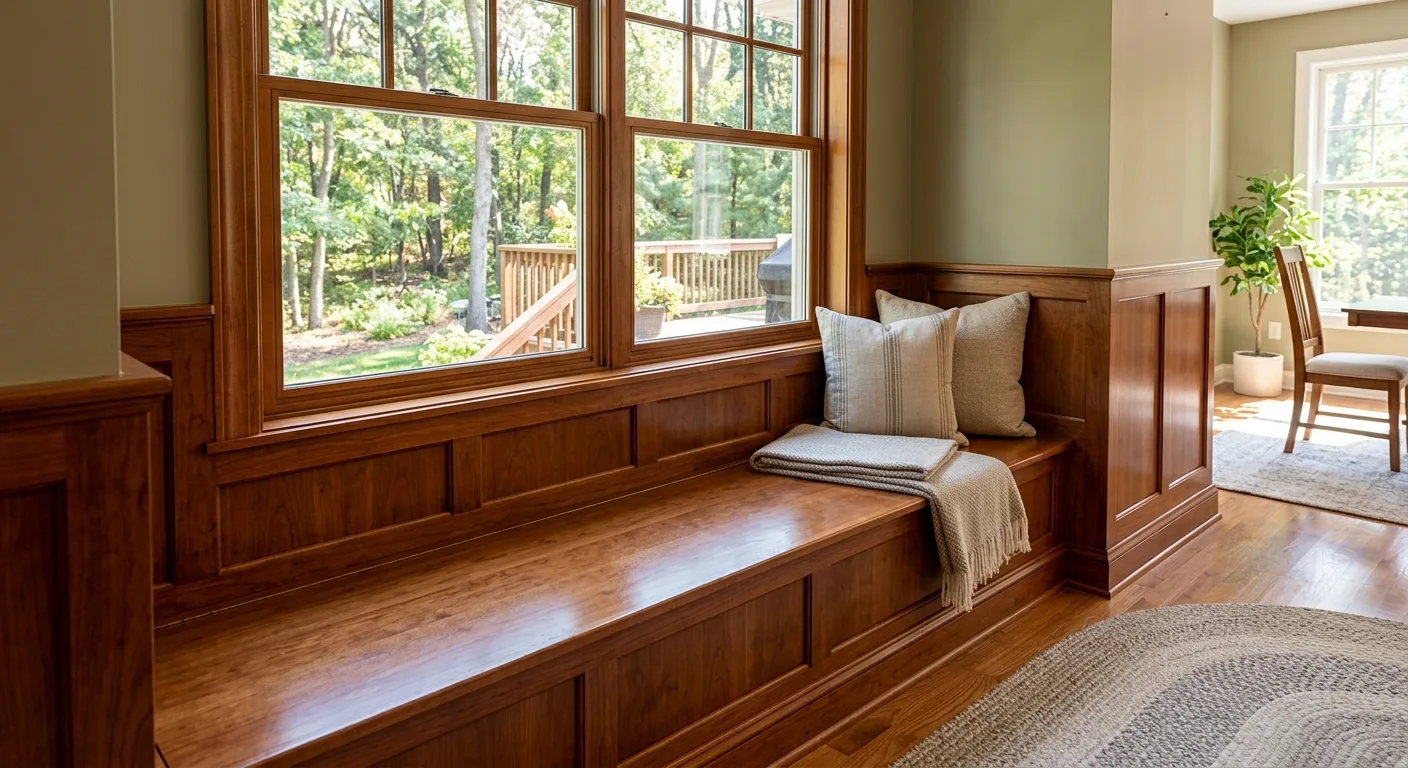
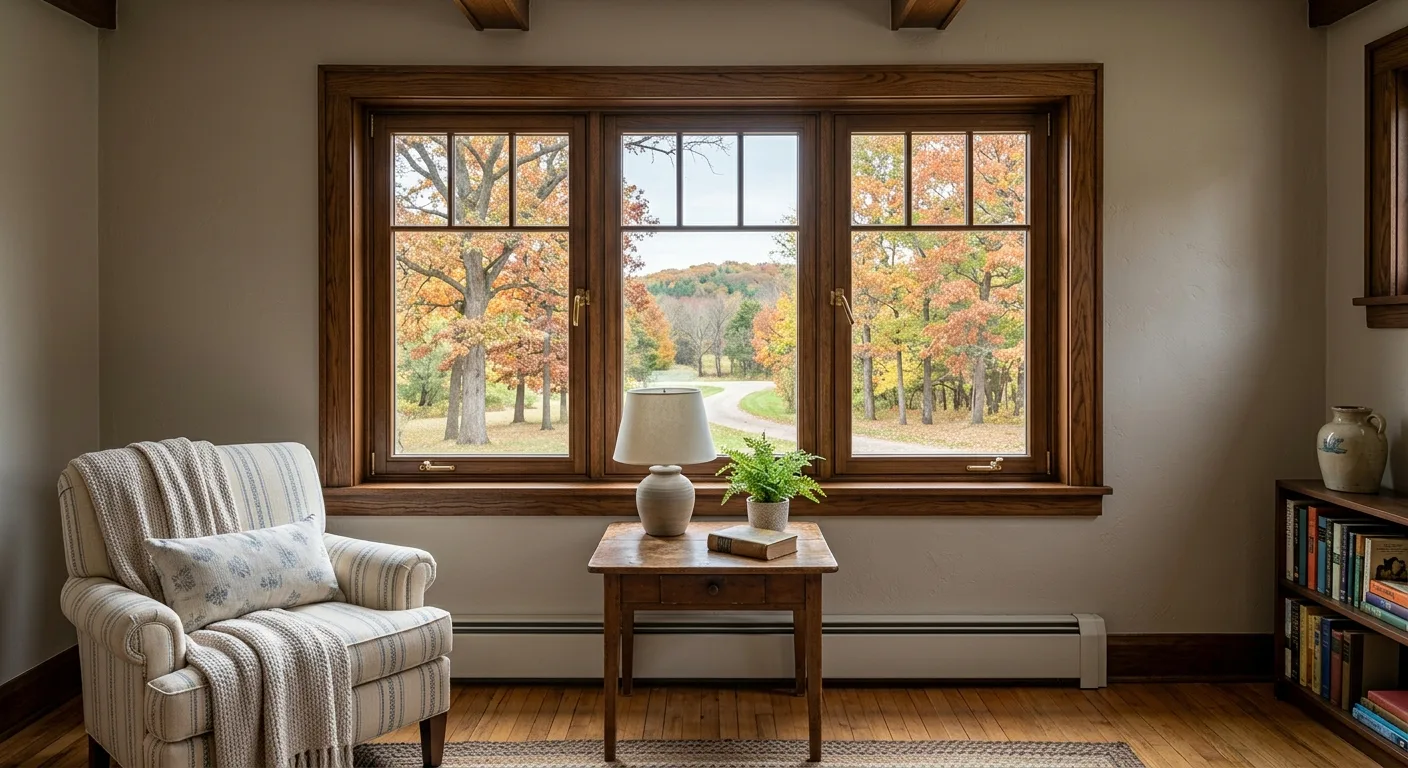
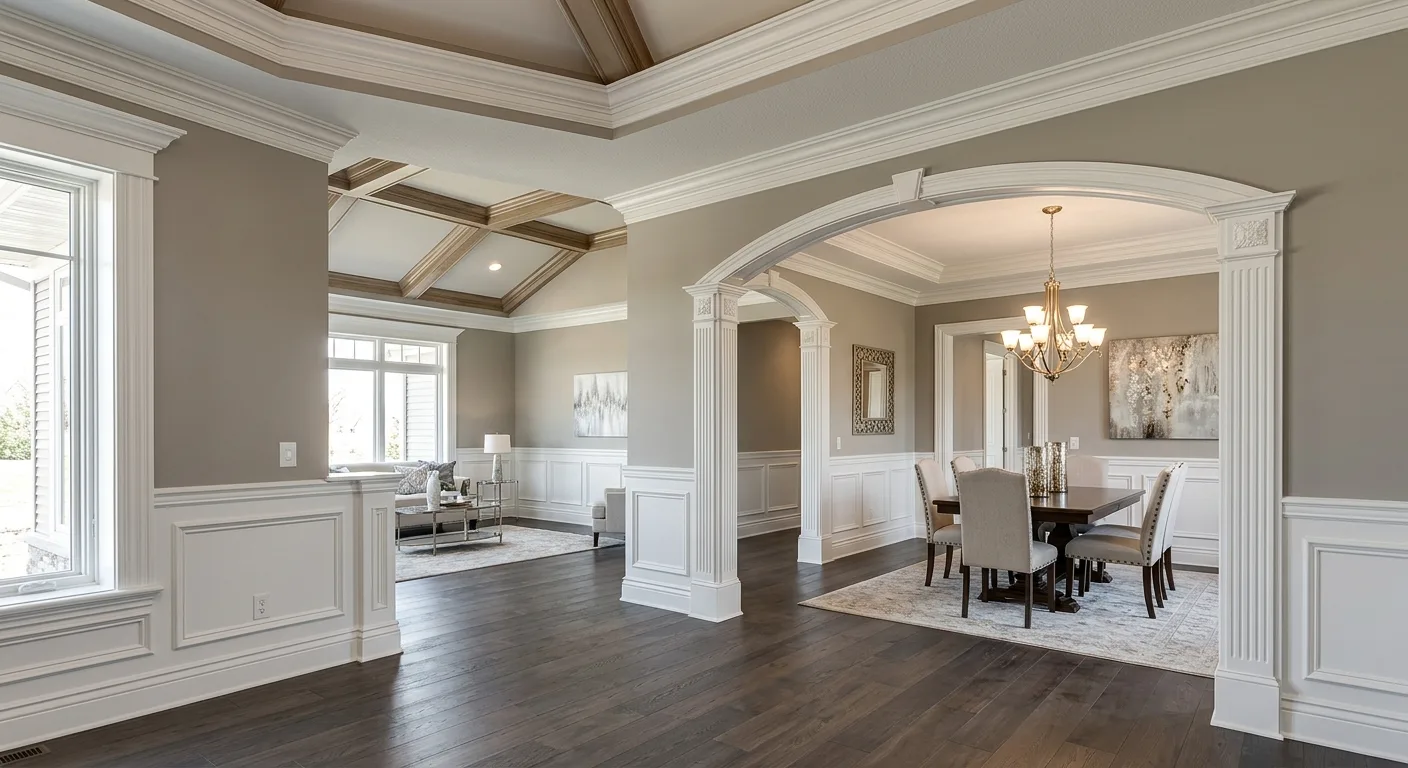
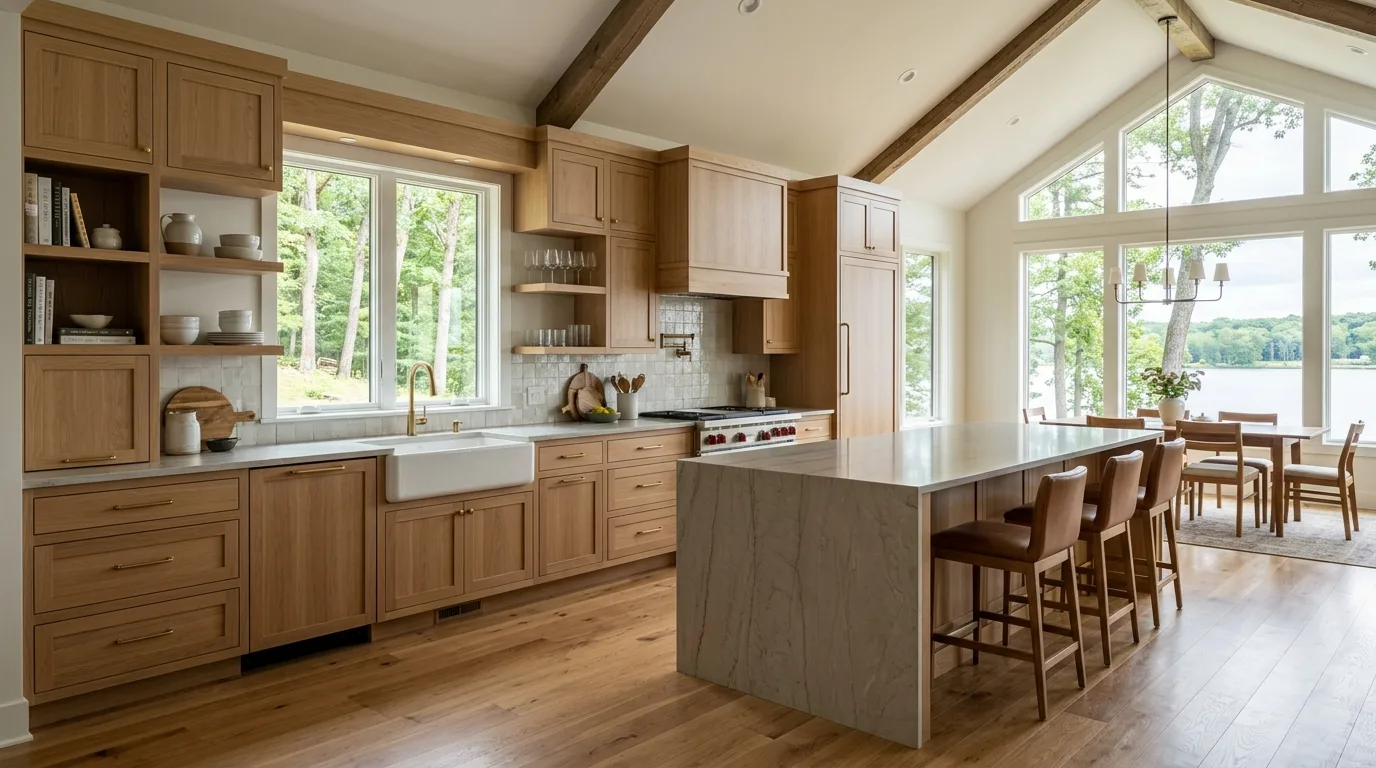
A few recent projects, photographed on the job. The finish is the whole point — so look at it up close.
Our Process
What the Process Actually Looks Like
- 01
Surface Assessment and Prep
Old finish gets stripped or sanded back before anything new goes on. We check the wood for soft spots, rot, or raised grain that'll telegraph through the finish. Skipping this step is why most DIY refinishing jobs look off within a year.
- 02
Stain Application
Stain is applied in controlled conditions, worked into the grain, and wiped to even tone before it sets. We match the color to what you want, not just what's on the shelf. Oak, pine, and maple all respond differently, and we adjust for each.
- 03
Varnish and Final Finish
Varnish goes on in thin, even coats with light sanding between layers. The goal is a finish that's smooth to the touch and built to handle daily contact without peeling or clouding. We don't rush the dry time.
Common Projects
Wood Finishing Work We Handle
Window Frame Staining
Window sills and frames take more wear than most interior wood. UV exposure, condensation, and repeated cleaning strip the finish faster than trim in other locations. We've refinished frames that looked like the wood was starting to rot and left them looking new. Ask Lorrie Labofsky, whose frames went through exactly that.
Interior Trim and Molding
Stained trim that's gone dull or worn at the edges doesn't have to be painted over. Refinishing brings back the depth of the grain and can match the original tone closely. Pairs well with molding painting when part of the trim has been repainted in prior projects.
Custom Cabinetry Finishing
Factory-finished cabinets that have worn through at the corners and drawer edges are candidates for refinishing rather than replacement. We can restain and revarnish without converting to enamel, which preserves the wood look. For homeowners who want to go the other direction, see cabinet painting.
Stain vs. Varnish: What Each One Does
These aren't interchangeable products, and understanding which does what helps you ask the right questions.
- 01
Stain changes the color
Stain penetrates the wood fiber and changes its tone. It doesn't protect the surface on its own. You need a topcoat.
- 02
Varnish protects the surface
Varnish sits on top of the wood and creates a hard, clear barrier against moisture, abrasion, and UV. It can be applied over bare wood or over stain.
- 03
They can work together or separately
Many projects use both: stain for color depth, varnish for durability. Some projects only need varnish to refresh a clear coat that's worn through.
- 04
Prep determines the result
Neither product performs well over old, flaking finish or unsealed bare wood. Sanding and conditioning the surface before either is applied is non-negotiable.
For Your Reference
Quick Facts About Wood Refinishing
- Stain alone does not seal or protect wood. A clear topcoat is required for durability
- Previously varnished surfaces need to be sanded or stripped before restaining takes evenly
- Oak, pine, and maple absorb stain at different rates and may need wood conditioner first
- Varnish requires clean, dry conditions and adequate dry time between coats
- Window frames in contact with condensation may need a moisture-resistant finish grade
- Refinishing wood is almost always more cost-effective than replacing it
Why Most Refinishing Jobs Go Wrong
- 01
Wrong product for the wood
Oil-based and water-based stains behave differently on different species. Using the wrong one produces blotchy, uneven tone that can't be fixed without stripping.
- 02
Skipped prep work
Stain or varnish applied over old, contaminated, or unsanded surfaces won't bond correctly. It peels, bubbles, or fades within months. We don't skip this step.
- 03
Rushed dry time
Applying a second coat before the first is fully cured causes clouding, wrinkling, and soft spots in the finish. Good results take the time they take.
Straight from Google
What Customers Say actually check
Steve + Team did a phenomenal job painting all 4400 sq ft interior painting while we were on vacation for a week, even finishing the job early! They fixed drywall errors (of which I was oblivious prior to him pointing out the flaws in the initial quote), touched up the enamel/molding, and did a beautiful job beyond our expectations even cleaning up so well after themselves. We were beyond impressed and would absolutely hire them again and recommend others do the same!
 Paul and Kim ShipleySep 2024 · Google
On my main level, Steve painted my oak kitchen cabinets, fixed my ceiling and then resprayed the entire ceiling. I added on to the project and had the downstairs painted. Steve and his team did a great job. I was impressed with the responsiveness and attention to detail. I couldn’t be happier with the results and would definitely recommend!
 Valerie KilianOct 2023 · Google
Our wooden window sills/frames needed some repair, and we hired Steve and his team to re-stain and varnish all the window frames in our house. I can't believe the difference. Many of them were faded and some looked like the wood was starting to rot. After Steve and his team were here, they look completely different. They did a great job, and I would definitely hire them again. Steve is very knowledgeable and takes the time to explain his process.
 Lorrie LabofskyOct 2022 · Google
We hired Steve to white enamel our main level cabinets, molding and stairwell which initially were oak. The finished product was beautiful and he did such an exceptional job that we additionally had him paint our ceiling and walls. Steve is extremely knowledgeable, reliable and easy to work with. He is committed to providing high quality services at reasonable costs. We will definitely be using him again for future projects!
 Melody KoerselmanDec 2021 · Google
Ready to Refinish the Wood in Your Home?
Stain, varnish, window frames, trim. Call for a free estimate.